Using the Mullvad VPN app
Mullvad app Windows Linux macOS Desktop Using
Dernière mise à jour:
This guide explains how to use the Mullvad VPN desktop app (for Windows, macOS and Linux) and all of its features. We also have specific user guides for Android and iOS/iPadOS.
Installation guides
For help with downloading and installing the app see the following installation guides.
- Install Mullvad app on Windows
- Install Mullvad app on macOS
- Install Mullvad app on Linux
- Install Mullvad app on Android
What this guide covers
- Starting up Mullvad
- Create account
- Log in
- Too many devices
- Connect
- Switch location
- Disconnect
- Update the app
- Temporarily blocked Internet – kill switch always on
- Settings menu
- User interface settings
- VPN settings
- Split tunneling
- Vulnerabilities
- FAQ
Starting up Mullvad
When you start Mullvad for the first time you have two options:
- Create a new account - use this if you never had a Mullvad account or you want to make a new one.
- Log in with an existing account - use this if you already generated an account on our website that you want to use.
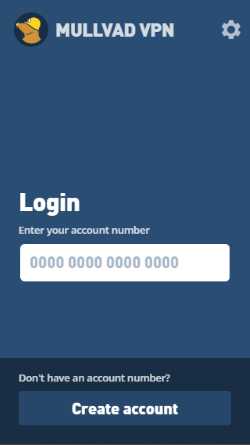
Create account
If you don't yet have an account number, click Create account and a new account number will be created for you.
To start using the app, you need to add time to your account. You can either buy credit on our website or redeem a voucher that you received, or bought from one of our resellers.

Log in
Enter your Mullvad account number and hit Enter or click the green button with an arrow.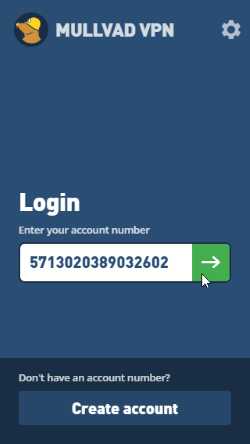
If you click in the empty account number field, the last account number that you used will be displayed. If you want to remove this, click on the delete icon on the right side of the number.
Too many devices
If you login on an account that already have 5 devices you will be notified about this.

To be able to login you will need to remove one of the devices by clicking the X to the right of the device name
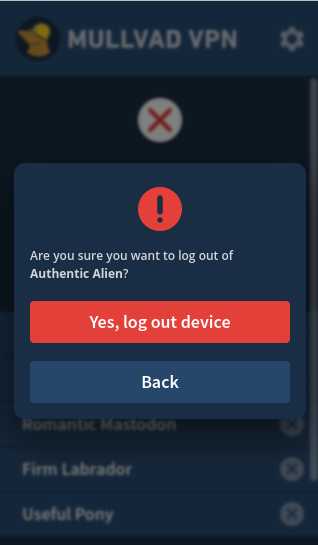
Click "Yes, log out device"
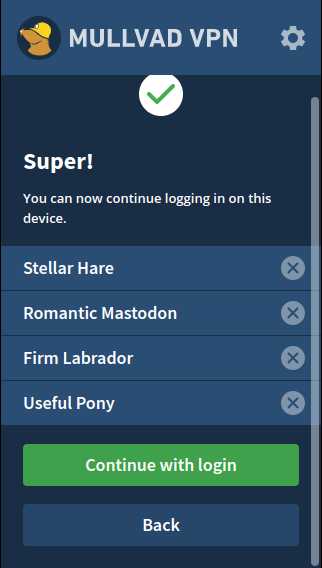
You can now click "Continue with login" to login with the device.
Connect
Once you have logged in with an account number that has time on it, you can click on Secure my connection to connect to Mullvad VPN. You can see the status of your connection on the app's connection screen.
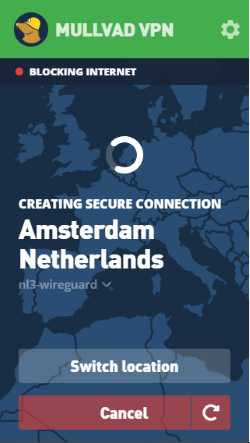
By default, the app will initially connect to a server in Sweden. If you choose a different location, the app will remember your latest selection for the next time you start the app.
Connection status - know when you are connected
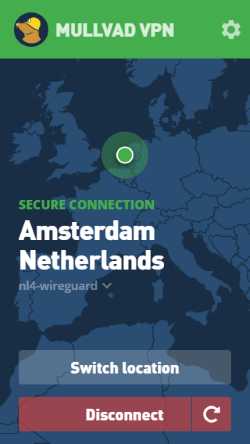
Once connected, the Mullvad app will visually signal this in a few ways:
- The padlock in the system tray (Windows/Linux) or menu bar (macOS) will turn green.
- The top bar of the app will be green.
- The app says "Secure connection" on the connection screen.
- A green dot on the map background shows where you are connected.
Connection details
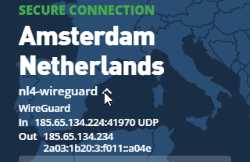
When you are connected, you can click on the server name (e.g. nl4-wireguard) in the connection screen to show connection details, including tunnel protocol (WireGuard or OpenVPN), the VPN server's entry (in) IP address and port, transport protocol (UDP or T*****), and your exit (out) IP address from the VPN server.
Is your browser leaking?
Use our Connection check to verify your connection status and to see if your browser is leaking information and jeopardizing your privacy. This can occur even while connected to Mullvad.
Reconnect
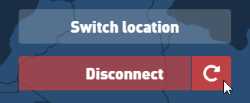
Next to the Disconnect button is a Reconnect button. If you are connected to a country or a city then you will most of the time get reconnected to another Mullvad server in that country or city if you click on this. It also changes the port it connects to the server on, unless you have set a port in the app settings.
Switch location
To select a different country, city or server, click on the Switch location button.
Select a country
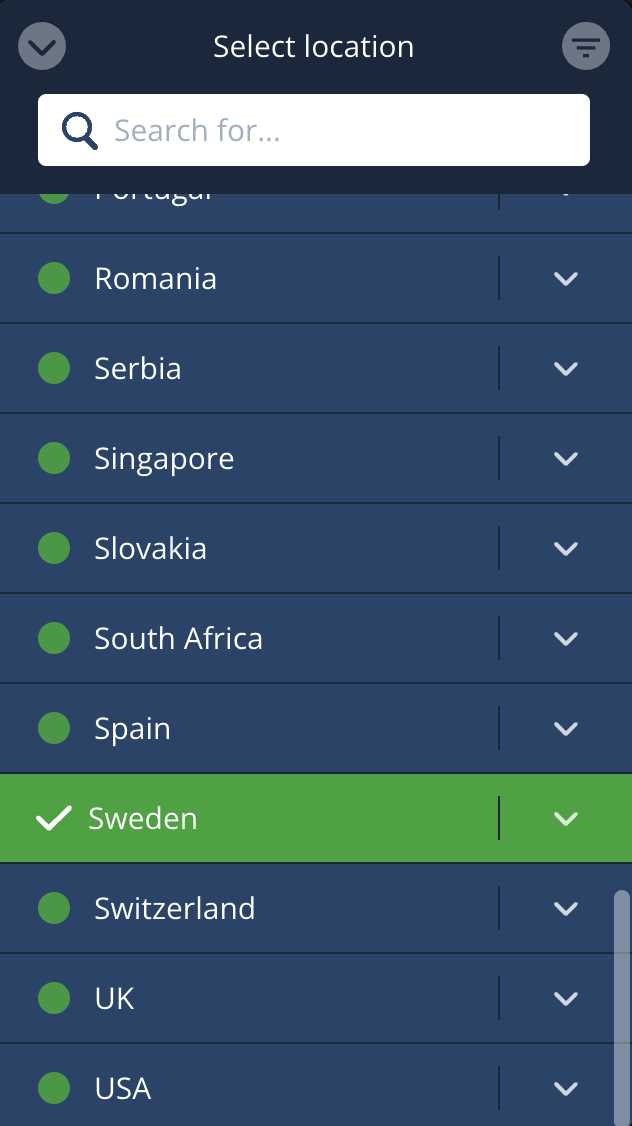
On the Select location screen, scroll down with the mouse scroll wheel or using the scroll bar in the right edge. Then click on the country that you prefer and the app will connect to it automatically.
Select a city
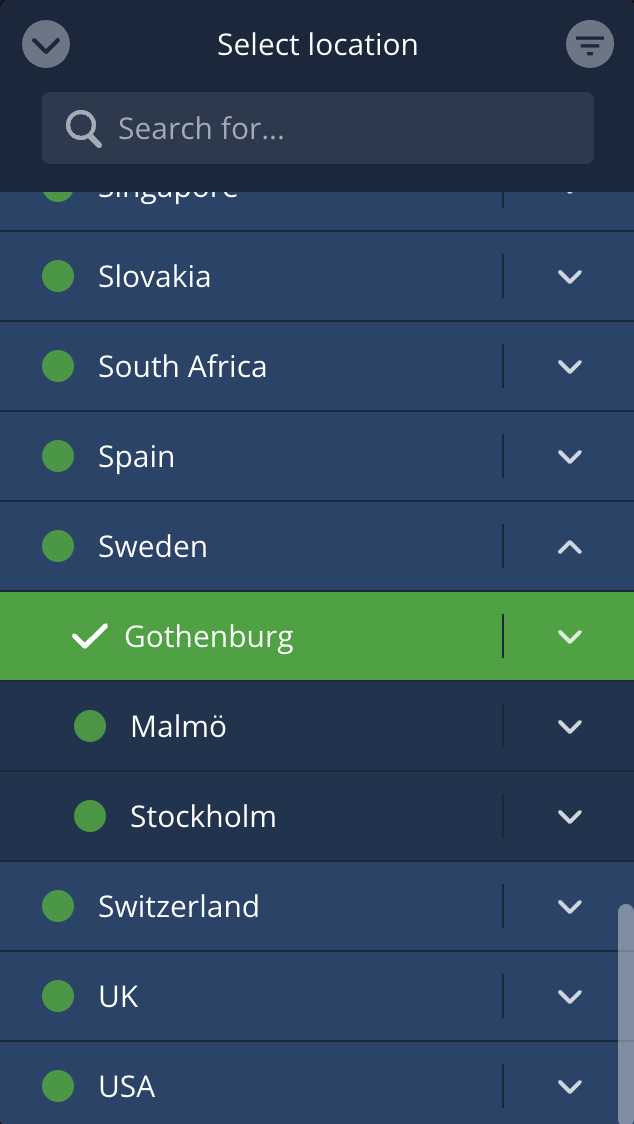
On the right side of the country there is a down arrow. Clicking on this will reveal a list of cities that you can choose to connect to.
Select a server
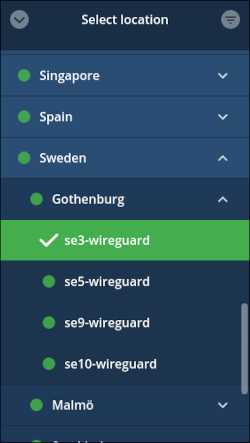
On the right side of the city there is another down arrow. Clicking on this will reveal a list of servers that you can choose to connect to. If the tunnel protocol is set to Automatic you will see OpenVPN servers in the top and WireGuard servers thereafter (where available).
Search
The search field can be used to search for servers.

Unavailable locations
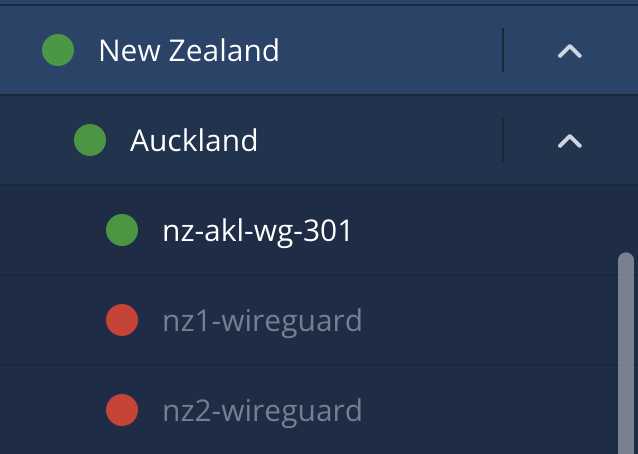
It can happen that you won't be able to select a location because its servers are currently unavailable. Such a location will have a red dot beside it and the name will be greyed out. Also individual servers can be disabled and show a red dot.
You can check our website server list where you can click on the down arrow for a server to possibly learn more about it.
Filter server selection
After you click on Switch location you can click on the button in the top right corner to see the filtering options.
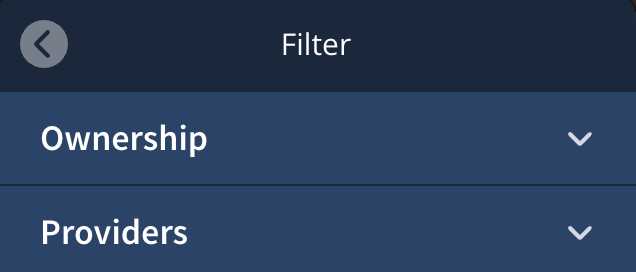
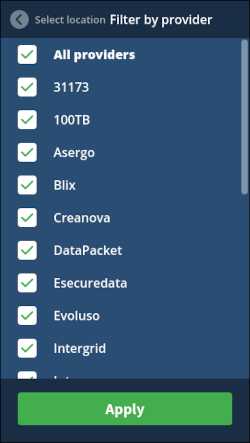
Filter by Providers
Here you can select or deselect server hosting providers to show or hide them in the location list. This is useful if you find that servers from some providers work better for you than others.
Filter by Ownership
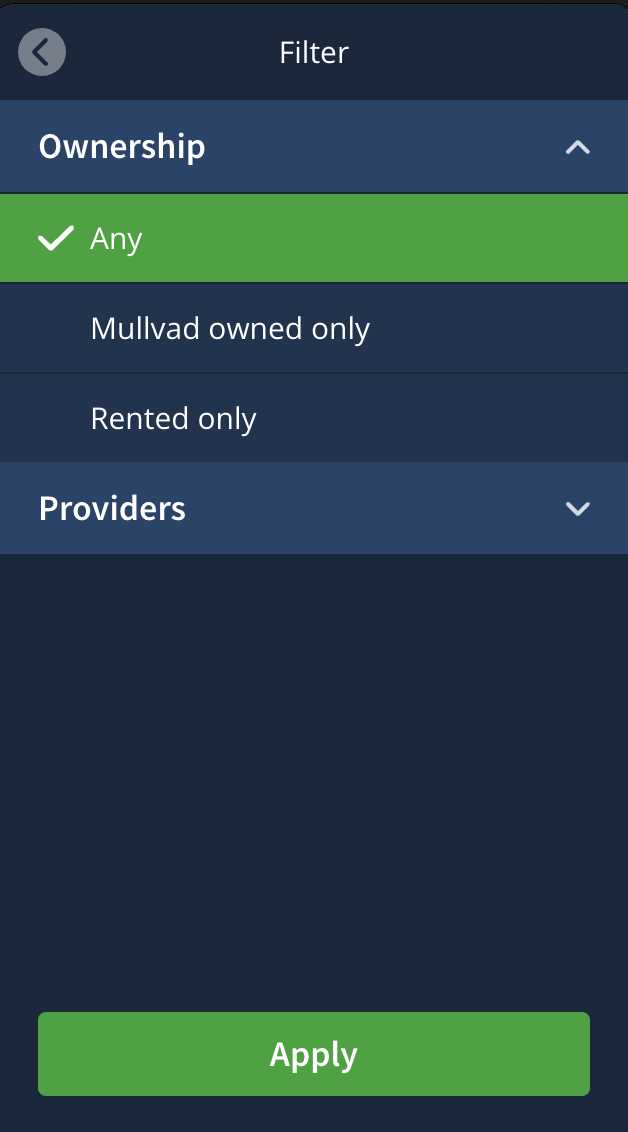
Here you can select which servers to show based on ownership.
Disconnect
If you want to disconnect from Mullvad, just click on the Disconnect button on the connection screen.
Know when you are disconnected
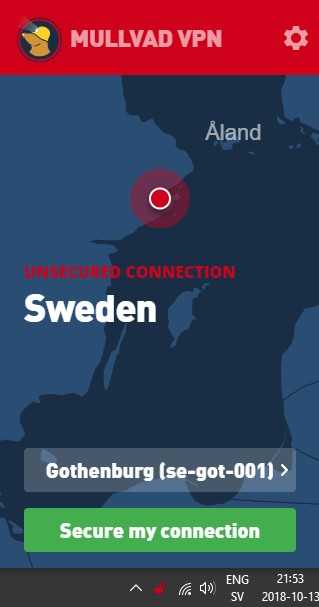
When you are disconnected, the Mullvad app will visually signal this in a few ways:
- The padlock in the system tray (Windows/Linux) or menu bar (macOS) will be red.
- The top bar of the app will be red.
- The app says "Unsecure connection" on the connection screen.
- A red dot on the map background shows your real location.
Update the app
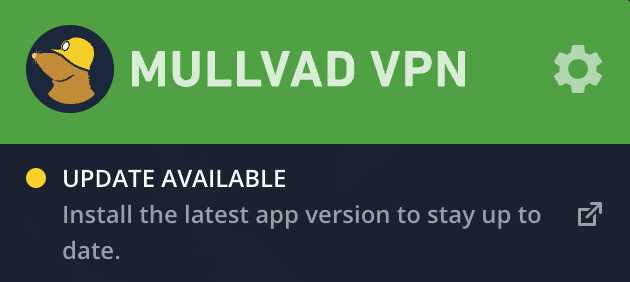
If you are running an old version of the app, you will see a notification on the connection screen that says "Update available". You will also see a yellow dot on the padlock icon.
Windows:
macOS:
Click on the arrow icon on the right side of the message to open our Apps download webpage. We recommend that you keep your app up to date. You can also choose to participate in our Beta program.
Temporarily blocked Internet – kill switch on
In case there is a problem while the Mullvad app is connected, you may notice that your Internet has suddenly stopped working. Check to see if the padlock in the system tray/menu bar has turned green with a red dot. If so, the connection screen in the app will also display "blocking Internet".
This is the app's built-in kill switch at work, automatically blocking the Internet upon VPN connection failure to ensure that your traffic is not accidentally leaked outside of our secure tunnel.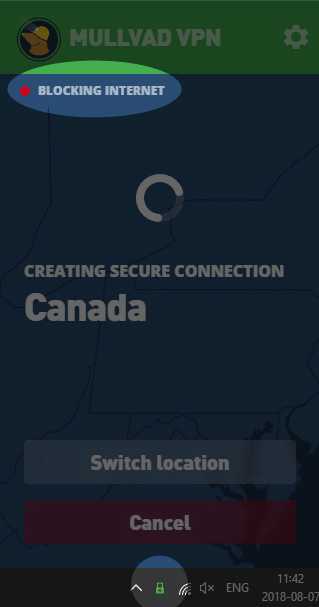
You will experience this in a few situations:
- If the app disconnects due to a connectivity issue.
- If you run out of time on your account while connected.
- While the app is establishing a connection when you start the app.
The app will continue to block your Internet traffic until a secure connection is made or reestablished, or until you manually disconnect from the app.
If you are worried about those times when you forget to start the app – leaving you unsecure – consider doing one of the following:
- Under Advanced settings, turn on Lockdown mode.
- Configure your browser with our SOCKS5 proxy which only works when you are connected to Mullvad.
Settings menu
The Settings menu can be accessed by clicking on the gear icon in the top right corner on the connection screen.
From here, you have access to several sub menus.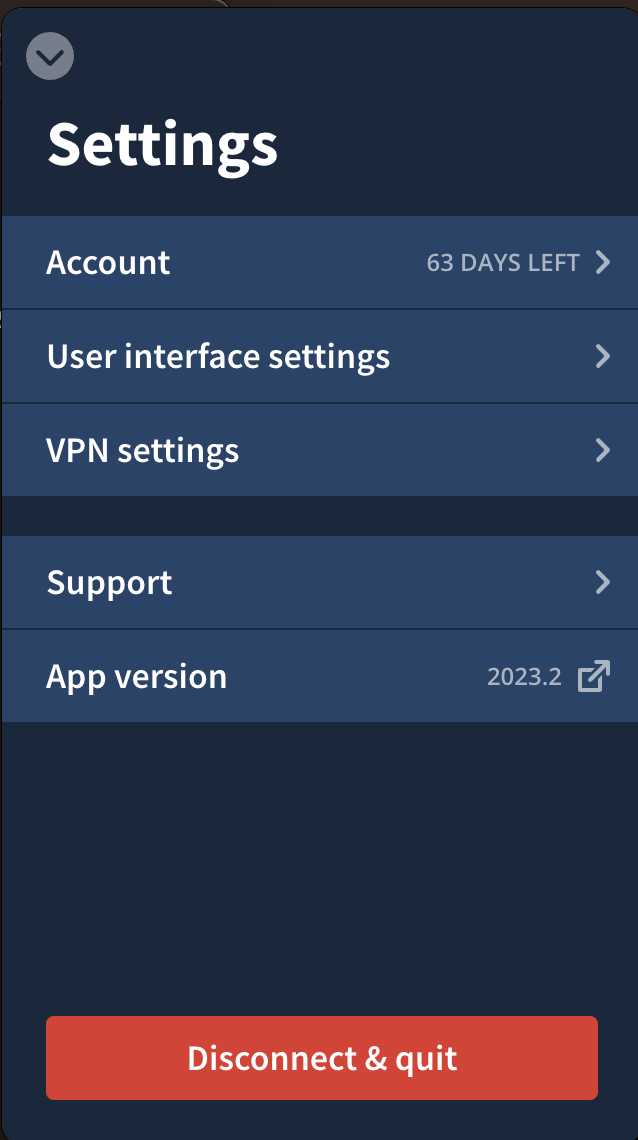
Account
Here you can view information pertaining to your account, including your account number, your device name, when your paid time runs out, and a link to our website to Buy more credit. If you have purchased or received a voucher then you can use Redeem voucher here. You can also Log out in case you want to log in with another account number.
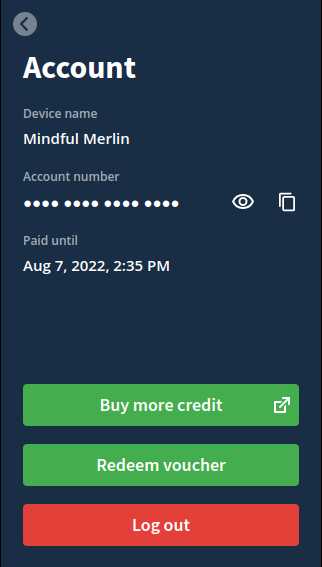
Starting three days before your account credit expires, you will see a notification in the connection screen.
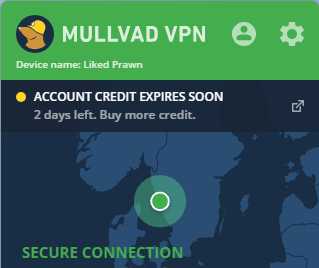
You will also see a yellow dot on the padlock icon.
Windows:
macOS:
User interface settings
See the User interface settings in this guide.
VPN settings
See the VPN settings in this guide.
Split tunneling
Split tunneling allows you to exclude some apps from the VPN. See the guide Split tunneling with the Mullvad app.
App version
This tells you which version of the app you are currently running. Click on this and you'll be taken to our website to download the latest version. If you don't have the latest one, you will see a warning message here and in the connection screen.
Support
The options under Support are described below.
Report a problem
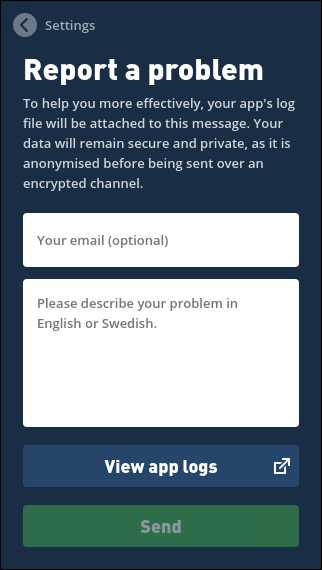
If you are having issues you can let us know by clicking on Report a problem. Enter your email address if you want a reply. Describe your problem in English or Swedish. The log files are anonymized before being securely sent to us. You can also easily view the logs by clicking on View app logs.
FAQs & Guides
This link will take you to the Help section of our website.
Beta program
Enable this option to get notified directly in the app when a new beta version is available.
Quit app
Clicking on the red Quit button shuts down the app. Doing so will disconnect you from any connection you had with the app, leaving your Internet traffic exposed and unsecure, unless you have the Lockdown mode setting enabled.
User interface settings
There are many settings in User interface settings and they will be described below. To see them all you can scroll down with the mouse scroll wheel or use the scroll bar in the right edge.
Notifications
Control whether or not you want system notifications to be displayed. Critical notifications, such as when the app temporarily disconnects, will always be displayed.
Monochromatic tray icon
This setting allows for a grayscale tray icon instead of the default colored one.
Language
Here you can select the language for the app.
VPN settings
There are many settings in VPN settings and they will be described below. To see them all you can scroll down with the mouse scroll wheel or use the scroll bar in the right edge.
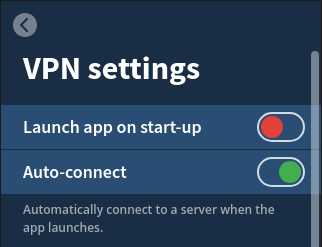
Launch app on start-up
If this is enabled then the Mullvad app will start up when your computer's operating system has started.
Auto-connect
With this setting enabled, the app will automatically connect to Mullvad VPN when it launches.
Local network sharing
Enable this setting if you want to access other devices on the same local network, such as printers and network attached storage (NAS). It's often best to use the IP address of the device when you connect to it. If you want to connect to another private network IP address range or subnet than the one your computer is using then you also have to add a static route to that. For example:
Windows
In a Command Prompt (run as Administrator):
route ADD 192.168.2.0 MASK 255.255.255.0 192.168.1.1
macOS
sudo route -n add -net 192.168.2.0/24 192.168.1.1
Linux
sudo ip r add 192.168.2.0/24 via 192.168.1.1 dev eth0
DNS content blockers
Click on the option to expand the list. You will be presented with different options for blocking.
Enable IPv6
This enables/disables IPv6 communication through the tunnel. You will be assigned both an IPv4 and IPv6 Mullvad address from Mullvad. If you get an IPv6 address from your Internet provider then the Mullvad app will block that in either case so it doesn't leak.
IPv6 is normally not needed but you can enable it if you have a need to connect to a special server on the Internet which only supports IPv6.
Normally the VPN speed is faster with IPv4 since it often has more optimal routing.
Lockdown mode
Attention: enabling this will always require a Mullvad VPN connection in order to reach the Internet.
The app's built-in kill switch is always on. This setting will additionally block the Internet if clicking Disconnect or Quit.

Tunnel protocol
Choose which VPN protocol you'd like your connection to use. With Automatic selected, Windows uses OpenVPN while macOS and Linux use WireGuard.
WireGuard settings
To change the WireGuard settings make sure that the Tunnel protocol is set to Automatic or WireGuard.
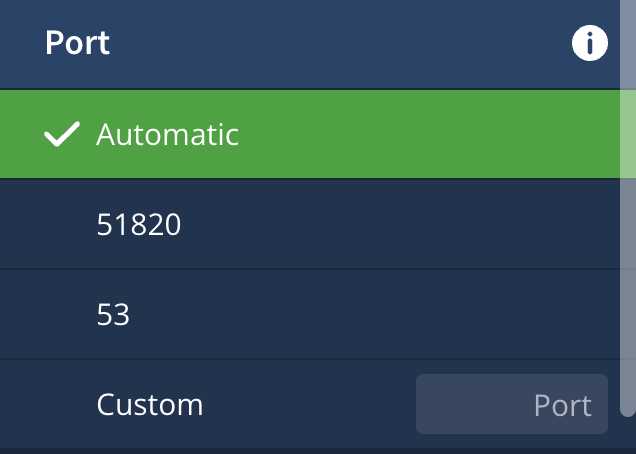
Port
If Automatic does not work well for you then you can select a different port or manually enter a custom port.
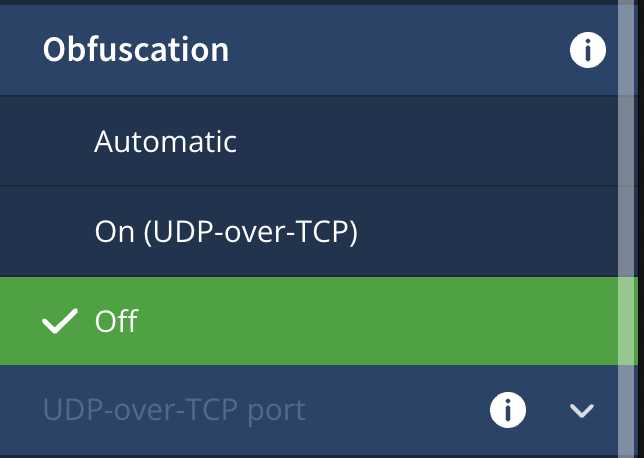
Obfuscation
WireGuard out of the box works only over UDP. This can cause problems because UDP is blocked on many public networks like in cafes and on trains. If that happens then you can set Obfuscation to On (UDP-over-T*****).
Note that using WireGuard Obfuscation (UDP-over-T*****) can significantly increase the latency and also slow down the Internet speed. So if you don't need it then do not turn it on.
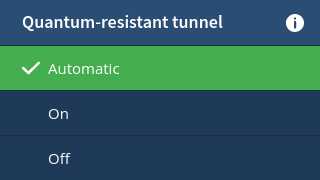
Quantum-resistant tunnel
Although strong enough quantum computers have yet to be demonstrated, having post-quantum secure tunnels today protect against attackers that record encrypted traffic with the hope of decrypting it with a future quantum computer.
- Automatic - This currently means the same thing as "off", but this might change in the future.
- On - Enables Quantum-resistant tunnel.
- Off - Disables Quantum-resistant tunnel.
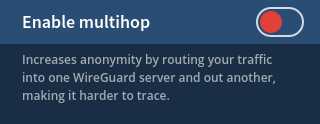
Enable multihop
You can enable multihop to increase your anonymity. Your Internet traffic will then be routed from one WireGuard server to another. Note that this can impact your speed and latency. See our guide Multihop with WireGuard if you want to know more.
After enabling multihop you can go back and click on Switch location and select an Entry location and Exit location.
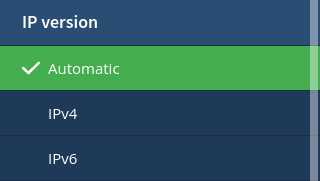
IP version
Normally the app connects to a WireGuard server using its IPv4 address. If your network or device only supports IPv6 then you can select that here.
MTU
The default MTU (maximum transmission unit) for WireGuard in the Mullvad app is 1380. You can set it to 1280 if the WireGuard connection stops working. This may be necessary in some mobile networks. Increasing the value might achieve slightly higher speeds in some cases.

OpenVPN settings
To change the OpenVPN settings make sure that the Tunnel protocol is set to Automatic or OpenVPN.
Transport protocol
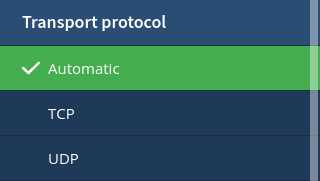
When using automatic it will default to UDP because it is generally faster than T*****. However, sometimes only T***** works on certain restricted networks, and it may be more stable.
You can set either Automatic, T***** or UDP.
Bridge mode
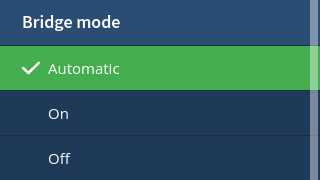
Enabling Bridge mode routes your traffic through two servers - first a Shadowsocks bridge server and then an OpenVPN server - instead of one, in essence a multihop. The Automatic setting means that it will only be used if there is a problem to connect without it.
Follow our guide How to use bridge mode for full instructions.
Mssfix
You can use this setting if you are connected with OpenVPN with UDP. It will avoid packet fragmentation which in some cases can cause the connection to stall, for example https:// (SSL) websites may not load properly. The default value (max package size) is 1450 and 1300 is a good value to start with if you have this particular problem. You could also try to change to T***** instead.

Use custom DNS server
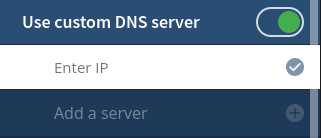
Use this option if you want to use another DNS server instead of the DNS on the Mullvad VPN server. Enter the IP-address to a DNS server.
You can only use a public/external DNS server if you connect to a Mullvad WireGuard server, but you can use a local DNS server both with WireGuard servers and OpenVPN servers.
Note that this can affect your privacy if it's logging your DNS requests.
Vulnerabilities
Early boot leaks on macOS
If you are using macOS, note that the Mullvad app can’t ensure it starts before other applications start sending traffic to the Internet - thus your traffic may leak during system startup.
We recommend that you do not enable "Open at Login" for applications that you do not want to leak Internet traffic. Wait until the Mullvad app has started and connected to a server, and then start them manually. Note that some system services can still leak before the Mullvad service has started.
Microsoft Defender Application Guard in Windows
If you install Microsoft Defender Application Guard and open a "New Application Guard window" in Microsoft Edge then it will leak your IP address. As an alternative you can use Windows Sandbox instead. Use our Connection check to verify the IP.
Linux under WSL2 can be leaking
Your IP address will leak when using WSL2 when the Mullvad VPN app is disconnected, connecting, reconnecting, or blocking (after an error occurred). For more information see our blog post: Linux under WSL2 can be leaking.
FAQ
Q: How can I enable Lockdown mode before I log in to the Mullvad app?
A: You can enable it in the Command Prompt or Terminal with this CLI command:
mullvad lockdown-mode set on
Q: What does the yellow dot on the padlock icon mean?
A: The yellow dot either means that your Mullvad account is about to expire, or that there is an update available. If you open the Mullvad app then you should see a message in the top.
"WireGuard" is a registered trademark of Jason A. Donenfeld.